In a world where originality is so highly desired but so difficult to come across, DIY projects are taking over. They’ve become the new norm. Thank you,Pinterest. Everyone seems to be racing to make the coolest, most innovative DIY item around and can’t wait to see how many likes and repins they get on Pinterest. These projects can be enjoyable and make things easier or cheaper. But DIY projects can also be rigorous, expensive and time-consuming. After choosing the DIY path for a recent project, I’ve learned to always consider whether DIY is worth it.
A few months ago when Vince and I moved into our new apartment, we took a shopping trip to IKEA for some affordable upgrades. A bookshelf, some bathroom storage and a cutting board. Boom! Nice and easy. Unlike many, we survived the inevitable arguments and disagreements that occur between couples while in IKEA. What is it about that place?
We found a pretty cool looking and perfect-sized bookshelf – Gorm by Ikea – for just $30 but the wood was fresh out of the chopper – it wasn’t sanded, stained or finished in any way. It didn’t come in a box – just slabs of wood tied together with zip ties. We figured, “No big deal, we’ll just finish it ourselves!”
“It’ll be fun!” we thought.
Wrong. Oh so wrong.
We thought we were saving money by purchasing a $30 shelf that we’d finish on our own. Some of the other bookshelves at IKEA were $100 so the one we chose seemed like a total steal. Right?
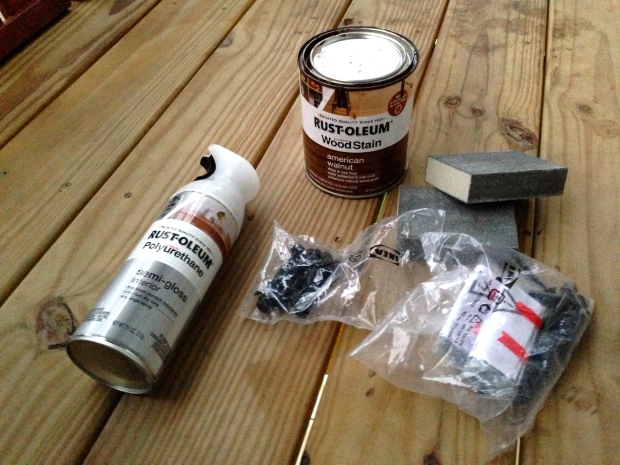
After the purchase of all the necessities to make the shelf user-friendly, we began second guessing our decision. Here’s what we needed:
- 2 sanding blocks: $2.28 each
- 1-quart Rustoleum Stain (the second-cheapest option): $8.48
- 4 staining brushes (again, the cheapest ones they had): $0.99 x2 for small brushes, $1.48 x2 for large brushes
- 1-quart Rustoleum Polyurethane: $12.06
- 2 paint stirrers: $0.49 each
A total of $31.02 in supplies, before tax. Now, this seemingly inexpensive furniture project wasn’t looking like such a steal for this young couple. The bookshelf was now $61.02 – before the start of what ended up being a time-consuming, inconvenient and labor-intensive project.
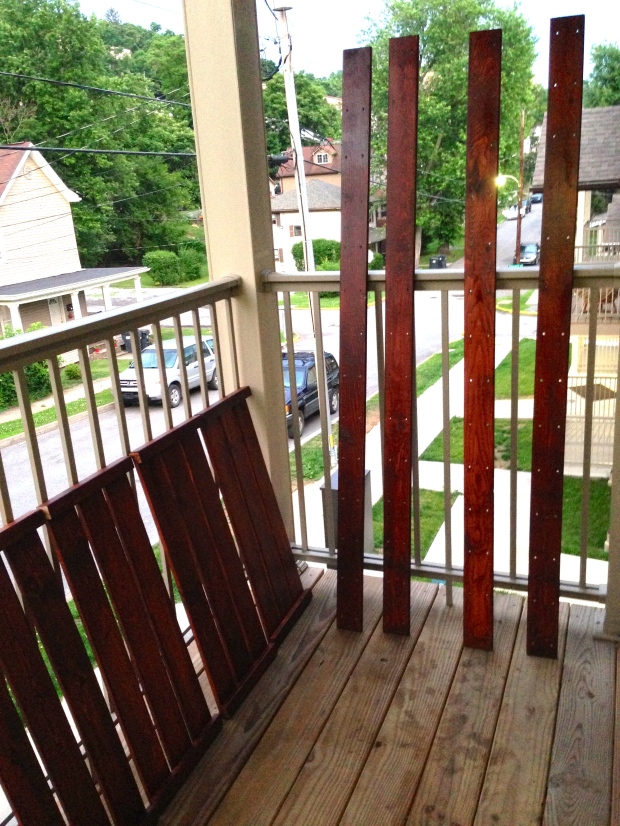
Our apartment does not offer a ton of room for activities. The lack of work space meant the entire project had to be done on our 4.5×12-ish balcony that isn’t exactly fit for 10 slabs of wood, a bunch of supplies and two tall people.
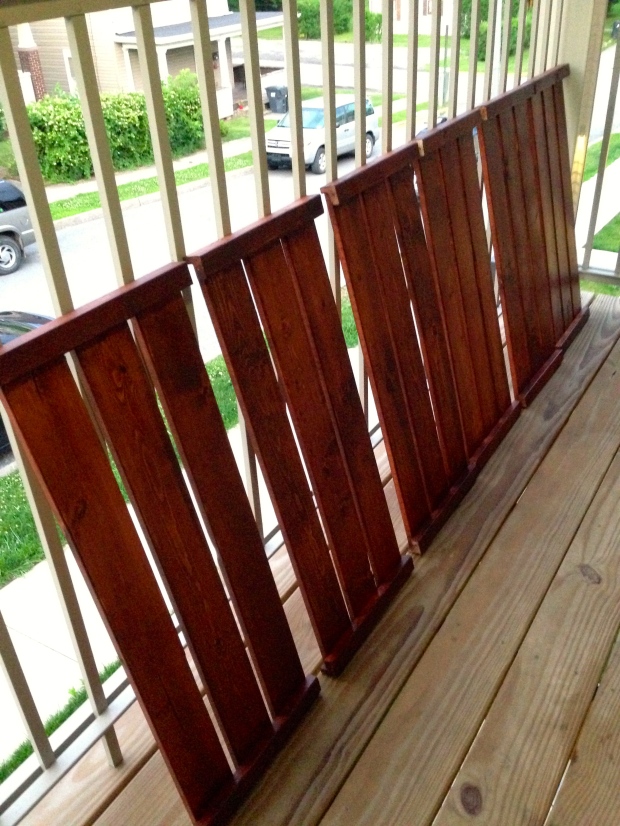
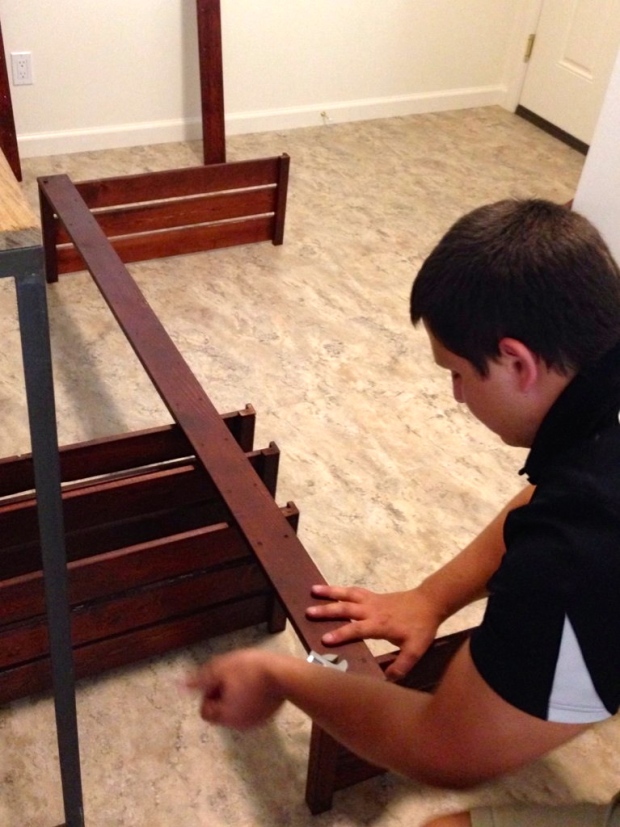
First it was the sanding. Sanding, sanding, sanding for days. It took two evenings to sand all the pieces by hand. Next, it was time for the stain. We chose a darker stain, American Walnut, which meant that any mistakes or missed spots beamed like the North Star. Mistakes weren’t really an option. The staining and drying took three days. There was a lot of waiting and flipping the wood and waiting some more. Some rainy days over the course of the project eliminated the opportunity to work some more on the shelf. Inclement weather meant hauling all the supplies into our already cramped apartment and allowing the foul odors of the chemicals to fill our living space.
After letting the stain cure for more than 24 hours, it was time for the polyurethane. Since the polyurethane is clear, we didn’t have to be quite so gentle. However, it had to be equally coated, or else there would be shiny spots or dull spots. Like the stain, the polyurethane needed numerous coats and hours of drying time in between. After some more bad weather pushed the project back, we were able to finish the polyurethane and let that sit for 24 hours before use.
Often, we found ourselves dreaming of the day when it would be put together and out of mind. The day seemed like it would never come.
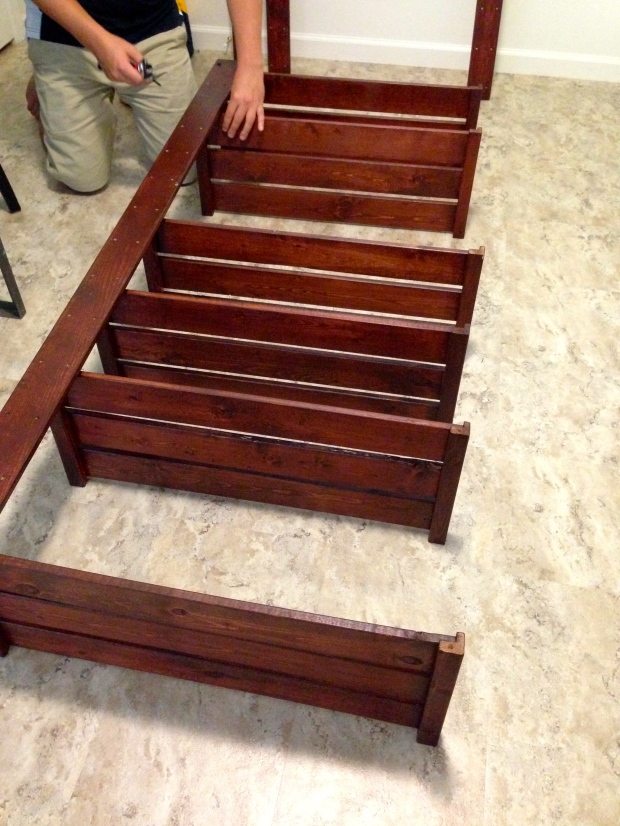
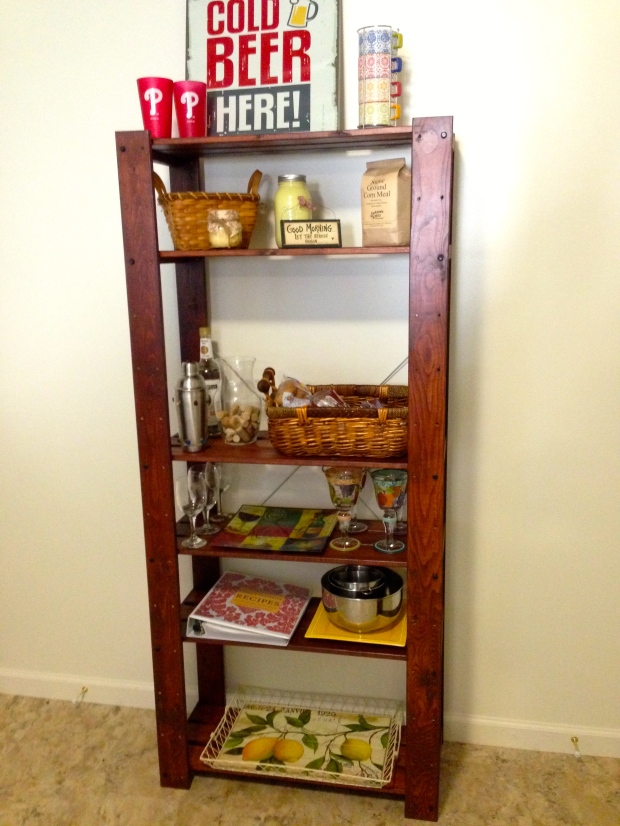
Finally, all the steps to the project were complete and it was time to put this damn thing together. Ten pieces of wood, 30 screws and some other pieces was all it took to turn misery into bliss…and the extra storage we badly needed in the kitchen. Although the total cost of the bookshelf – materials included – may have been only $60-$70, the amount of labor, stress and back-aches that came along with it wasn’t worth the work.
Admittedly, I absolutely LOVE the outcome. Though sometimes, DIY just isn’t worth it. That extra $30 would have meant a fast, odor-free assembly and having the storage we desperately needed.
So, when debating whether DIY is the right route for you, its important to consider all things.
1. Most importantly, do you have the space?
2. Do you have the time?
3. Do you WANT to do the project?
4. Will you cherish the product?
5. Is it cheaper than simply buying the product?
6. Will you still be sane afterward?
7. Will it be FUN for you?
The last thing you want to do is begin to resent your project. This could result in a poorly finished product and an incredibly long blog post complaining about how difficult DIY can be ;)
In my case, it was a bonding and learning experience for the both of us. But I vow to never, ever sand, stain and finish a piece of furniture again until I have time and a work space!
Do you have a DIY horror story? When have you opted for or against DIY? Let’s talk about how un-crafty we are in the comments! ;)
Platform: Average Honey


